Views: 215 Author: U-Need Publish Time: 2026-08-17 Origin: Site
Content Menu
● What Is CNC Acrylic Machining?
● Why Acrylic Is Used for Custom Parts
● Cast Acrylic vs. Extruded Acrylic
>> Cast Acrylic for Premium Machined Parts
>> Extruded Acrylic for Cost-Sensitive Applications
● Acrylic vs. Polycarbonate vs. Glass
● Design Guidelines for CNC Acrylic Parts
>> Use Suitable Wall Thickness
>> Avoid Highly Stressed Threads
● How to Prevent Melting and Chipping
>> Use Ramping and Controlled Entry
● Surface Finishes for Acrylic Parts
>> Polished Edges and Surfaces
● When to Use CNC Milling, Laser Cutting, or Injection Molding
● Quality Control for Clear Acrylic Components
● From Prototype to Production
● Summary
>> Can acrylic be CNC machined to tight tolerances?
>> Is cast acrylic better than extruded acrylic?
>> Why does acrylic melt during CNC machining?
>> Can CNC-machined acrylic be polished?
>> Is acrylic suitable for machine guards?
>> When should injection molding replace CNC machining?
Acrylic CNC machining is a reliable manufacturing method for producing transparent, lightweight, and dimensionally controlled PMMA parts. It is widely used for prototypes, low-volume production, custom displays, inspection windows, fluidic components, lighting covers, and premium consumer-product housings.
Acrylic, also known as PMMA, provides a glass-like appearance while being lighter and easier to machine than glass. However, a clear acrylic part is not automatically a simple part. Material grade, fixture design, cutting tools, heat management, polishing requirements, and packaging can all affect the final result.
For engineering teams and purchasing managers, the goal is not only to machine a part that matches the CAD file. The goal is to produce a component that fits correctly, looks clean, survives assembly, and arrives without scratches, chips, or stress cracks.
U-Need supports custom acrylic part projects through precision CNC machining, mold manufacturing, sheet metal fabrication, laser cutting, bending, stamping, and production-scale manufacturing support. From a single prototype to repeat production, the manufacturing process should begin with practical design review and clear quality expectations.
CNC acrylic machining is a subtractive manufacturing process. Computer-controlled equipment removes material from acrylic sheets, blocks, or rods to create finished parts with precise dimensions and detailed features.
The process can include:
- CNC milling for pockets, contours, slots, holes, and complex shapes.
- CNC turning for circular or rotational parts.
- Drilling for mounting holes, threaded features, and fluid passages.
- Engraving for logos, scale markings, icons, and product identification.
- Polishing for transparent edges and customer-facing surfaces.
Unlike injection molding, CNC machining does not require a dedicated production mold before parts can be made. This gives product teams more flexibility during prototype development, design validation, bridge production, and low-volume manufacturing.
CNC machining is particularly useful when a project requires frequent design revisions, complex geometry, precise assembly interfaces, or a small production quantity that does not justify injection mold tooling.

Acrylic is a rigid thermoplastic material with high transparency and strong visual appeal. It is often selected when engineers need the clarity of glass but want a lighter and more machinable alternative.
Common acrylic applications include:
- Clear machine guards and safety covers.
- Display panels and retail fixtures.
- LED covers, light guides, and illuminated signs.
- Electronic equipment housings.
- Medical-device covers and laboratory components.
- Optical-adjacent fixtures and protective windows.
- Automotive display elements and interior trim parts.
- Custom tanks, manifolds, and fluid-observation components.
Acrylic is also a good candidate for branded parts because it can be polished, frosted, engraved, painted, or combined with metal hardware.
| Property | Manufacturing Value |
|---|---|
| High clarity | Supports transparent housings, windows, displays, and covers. |
| Low weight | Reduces product weight compared with glass. |
| Good rigidity | Suitable for panels, enclosures, fixtures, and guards. |
| UV resistance | Useful for selected outdoor and lighting applications. |
| Good machinability | Supports drilling, milling, turning, engraving, and polishing. |
| Electrical insulation | Suitable for selected electronic and testing applications. |
| Strong visual finish | Can be polished, frosted, engraved, or color-tinted. |
Acrylic is not the best choice for every environment. Projects involving high impact loads, continuous high temperatures, aggressive chemicals, or repeated mechanical fastening may require another material, such as polycarbonate, ABS, nylon, or metal.
Material selection has a major impact on machining quality, appearance, and production consistency. The two most common forms are cast acrylic and extruded acrylic.
Cast acrylic is formed by pouring liquid acrylic resin into molds. It is generally preferred for precision machining, polished surfaces, optical appearance, and complex visible parts.
Cast acrylic is often suitable for:
- High-end display components.
- Polished transparent edges.
- Deep engraving.
- Precision holes and pockets.
- Complex CNC-milled shapes.
- Parts with strict cosmetic requirements.
- Components that may require polishing after machining.
Because cast acrylic is usually more stable during machining, it can reduce the risk of stress cracks and inconsistent edge quality.
Extruded acrylic is produced through a continuous extrusion process. It is commonly used for standard sheet applications, signage, basic covers, and simpler flat components.
Extruded acrylic can be a practical choice for:
- Simple flat panels.
- Standard signage.
- Low-complexity protective covers.
- Cost-sensitive display parts.
- General-purpose transparent sheet products.
However, extruded acrylic can contain more internal stress than cast acrylic. During aggressive machining, drilling, bending, or assembly, this stress may increase the chance of cracking or crazing.
For parts that require precision, high clarity, polished surfaces, or demanding cosmetic standards, cast acrylic is often the safer option.
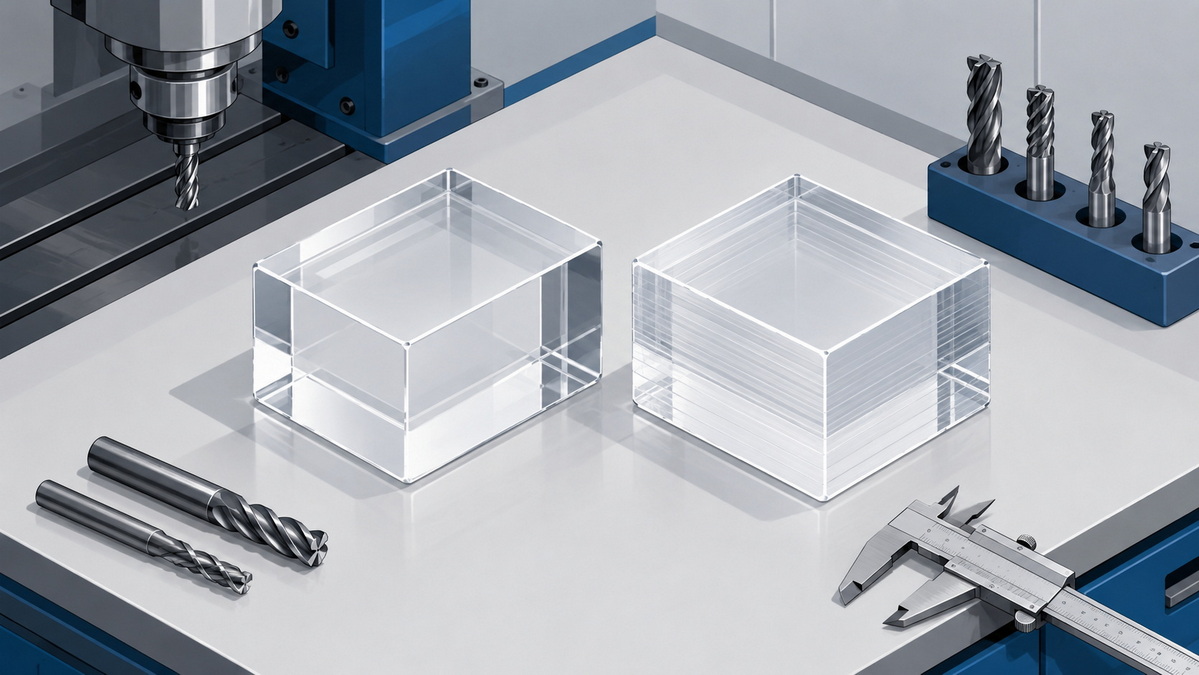
Acrylic is frequently compared with polycarbonate and glass because all three materials can be used for clear components.
| Material | Best Use | Main Strength | Main Limitation |
|---|---|---|---|
| Cast acrylic | Clear precision parts and display components | Excellent clarity and polishability | Lower impact resistance than polycarbonate |
| Extruded acrylic | Standard sheet parts and signage | More economical for simple applications | Greater variation and stress sensitivity |
| Polycarbonate | Safety shields and impact-prone components | Very high impact resistance | More prone to scratching |
| Glass | High-temperature or scratch-sensitive products | Hard surface and strong heat resistance | Heavy and brittle |
Acrylic is usually the preferred material when visual quality, stiffness, and edge transparency are priorities. Polycarbonate is often more suitable when impact resistance is the main concern.
Well-designed acrylic parts are easier to machine, inspect, assemble, and protect during shipment. A few practical design decisions can reduce manufacturing time and prevent avoidable failures.
Very thin acrylic walls may vibrate during machining, flex during assembly, or crack under load. While thin features can be produced in certain designs, they need careful evaluation.
For many CNC-machined acrylic parts:
- A wall thickness of around 1.5 mm may be possible for small, supported features.
- A wall thickness of 3 mm or more is often more stable.
- Larger panels may need additional thickness or structural support.
- Parts with mounting holes should have enough material around the fastener area.
The correct thickness depends on the part size, mounting method, load, temperature, and material grade.
CNC milling cutters are round, which means sharp internal corners require very small tools and longer machining time. Sharp corners can also create stress concentration points.
Whenever possible, add an internal radius to pockets, slots, and cutouts.
Useful starting points include:
- 0.5 mm radius for compact features.
- 1 mm radius for standard internal corners.
- 2 mm or larger radius for loaded corners and larger components.
Larger radii can improve machinability, reduce cycle time, and lower the chance of cracking.
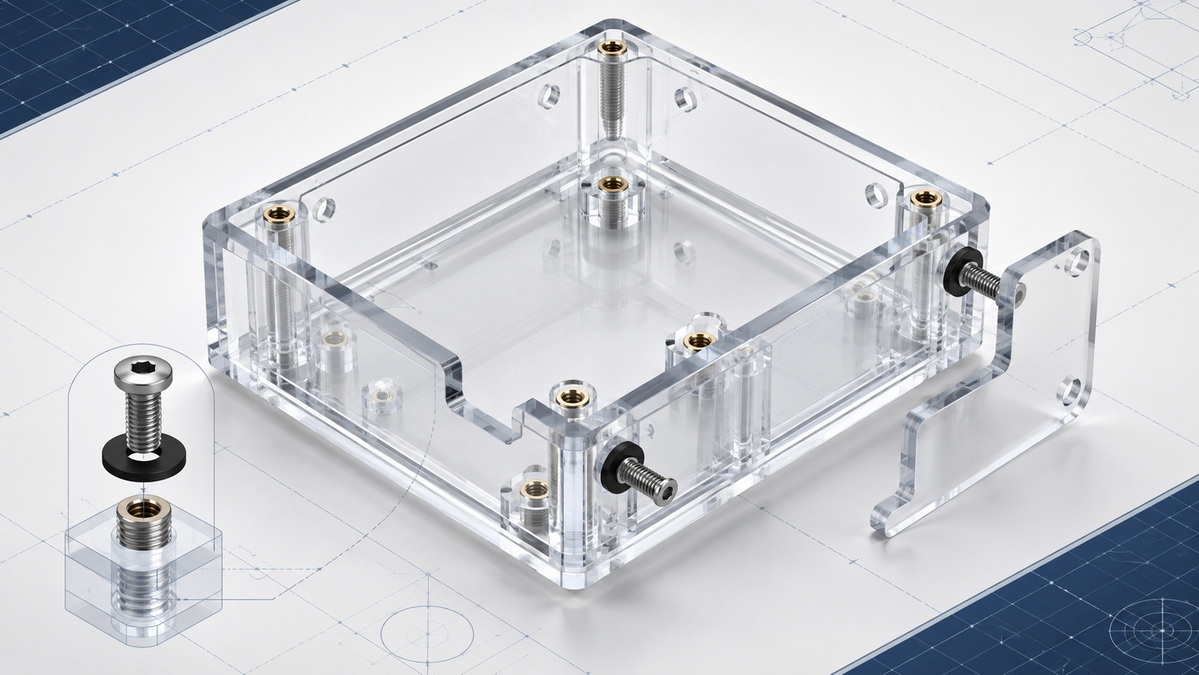
Acrylic can be tapped, but direct threads are not ideal for parts that will be assembled and disassembled repeatedly. Tightening a screw directly into acrylic can create radial stress and lead to cracking.
For stronger assemblies, consider:
- Metal threaded inserts.
- Through-holes with nuts and washers.
- Clearance holes with controlled fastener compression.
- Captive hardware systems.
- Metal brackets or backing plates.
This approach is especially important for enclosures, machine guards, panels, and parts exposed to vibration.
Acrylic expands and contracts more than metal when temperatures change. Holes that are too tight can cause stress around fasteners.
For mounted panels and covers:
- Use clearance holes rather than tightly fitted holes.
- Avoid over-tightening screws.
- Use washers to distribute pressure.
- Keep mounting holes away from sharp corners.
- Leave sufficient material between the hole and the edge.
Acrylic parts should be secured firmly enough for function, but not compressed so tightly that the material is forced to crack.
Acrylic machining quality depends heavily on heat control. Excessive friction can melt the material, create rough edges, cause white marks, or leave chips around holes and corners.
Dull tools create friction instead of clean cutting action. For acrylic machining, sharp cutters designed for plastics are generally preferred.
Suitable tooling may include:
- Single-flute cutters for efficient chip removal.
- O-flute cutters for plastics and softer materials.
- Polished carbide tools for improved surface quality.
- Small end mills for detailed pockets and engraving.
- Drill bits designed to reduce cracking and grabbing.
Tool selection should match the part geometry, acrylic thickness, finish requirement, and machine capability.
High spindle speed alone does not guarantee a better finish. If the cutter rotates too quickly without sufficient feed, it can rub against the acrylic instead of creating chips.
A stable process should produce visible chips rather than fine powder or melted residue.
Good machining practice includes:
1. Using an appropriate spindle speed for the cutter diameter.
2. Maintaining enough feed to remove material cleanly.
3. Avoiding long periods of tool rubbing.
4. Clearing chips from pockets and deep holes.
5. Using air blast or suitable coolant when heat builds up.
6. Testing important features before full production begins.
Poor clamping can create vibration, chatter marks, dimensional variation, and broken corners. At the same time, excessive clamping pressure can introduce stress into the acrylic.
Suitable workholding methods may include:
- Vacuum fixtures for flat acrylic sheets.
- Soft jaws for irregular shapes.
- Custom fixtures for thin or delicate parts.
- Sacrificial boards for through-cut operations.
- Mechanical clamps positioned outside visible areas.
The best fixture supports the material securely while protecting finished surfaces from marks.
Instead of plunging directly into the material, a gradual ramp entry can reduce cutting shock and heat buildup. This is useful for pockets, slots, holes, and thick acrylic sections.
Controlled tool entry can help improve surface finish and reduce stress around machined features.
Acrylic is often chosen because of its appearance. The required finish should be defined early because polishing, frosting, engraving, and protective packaging can affect both cost and lead time.
An as-machined finish is suitable for internal features, hidden surfaces, functional prototypes, and fixtures. Fine tool marks may remain visible, especially on large flat surfaces or deep pockets.
Mechanical polishing can improve transparency and create a premium appearance. This finish is often used for display parts, clear housings, decorative elements, and customer-facing products.
Polishing is most effective when the original machining process already produces a smooth, controlled surface.
A frosted surface can diffuse light, reduce glare, hide small handling marks, and create a modern visual effect.
This finish is often used for:
- LED light covers.
- Decorative display panels.
- Privacy-oriented components.
- Brand-focused consumer products.
- Diffused lighting elements.
Engraving can add product information without requiring labels or additional printing.
Common engraved details include:
- Brand logos.
- Serial numbers.
- Assembly marks.
- Scale lines.
- Warning symbols.
- Button labels.
- Direction arrows.
For visible parts, engraved depth and location should be designed carefully to avoid unwanted stress concentration.
The best manufacturing process depends on the part geometry, quantity, design maturity, and finish requirement.
| Process | Suitable Applications | Key Benefit | Consideration |
|---|---|---|---|
| CNC milling | Complex 3D shapes, holes, pockets, and precision features | High flexibility | Cycle time increases with complexity |
| CNC turning | Circular parts, rings, lenses, and bushings | Good concentricity | Limited to rotational geometry |
| Laser cutting | Flat panels, signs, and 2D profiles | Fast profile cutting | Edges may show heat effects |
| Injection molding | Stable, high-volume parts | Lower unit cost at scale | Requires mold investment |
| CNC machining with polishing | Premium clear components | High cosmetic potential | Adds finishing time |
For new product development, CNC machining is often the most practical way to validate part design before making production tooling. Once the design and annual demand are stable, injection molding may become more cost-effective.
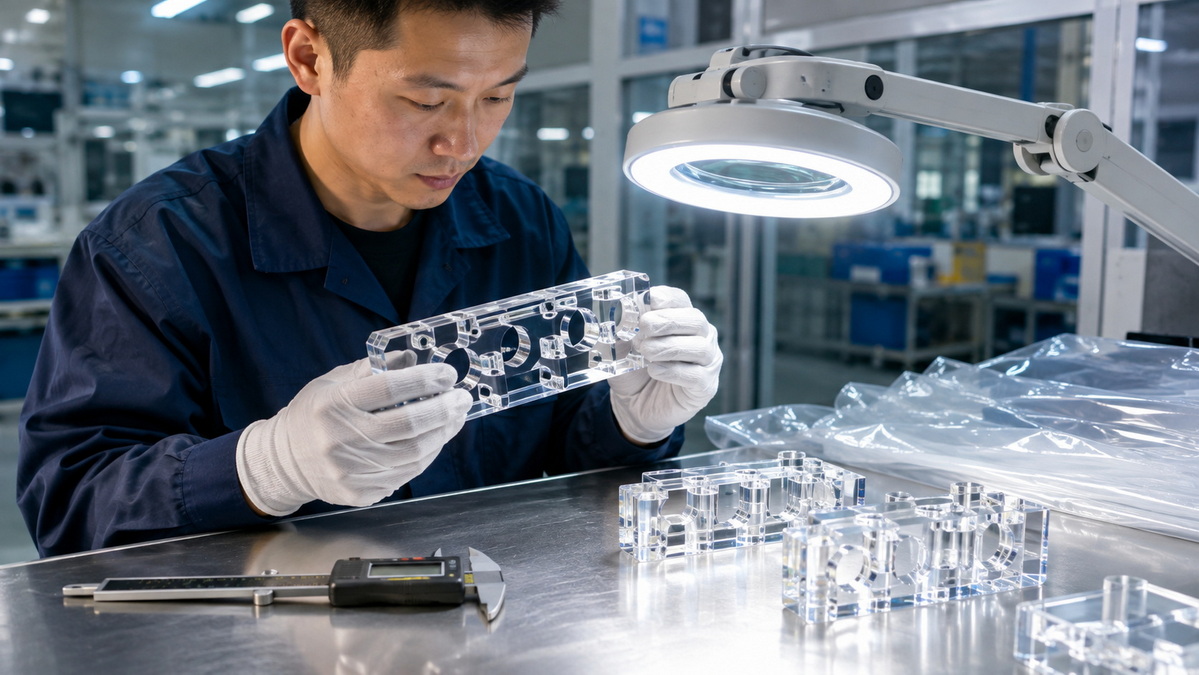
Transparent parts need more than dimensional inspection. A small scratch, chip, haze mark, or polishing inconsistency may be highly visible to the end user.
A complete quality process can include:
- Material verification before machining.
- First article inspection.
- Dimensional measurement of critical features.
- Hole-size and position verification.
- Visual inspection under controlled lighting.
- Edge inspection for chips and cracks.
- Surface-finish comparison with approved samples.
- Packaging inspection before shipment.
For cosmetic acrylic parts, buyers and manufacturers should agree on acceptance criteria before production begins. Define which conditions are acceptable and which are not.
For example, the drawing or inspection standard may clarify whether minor tool marks, light scratches, protective-film residue, edge-polish variation, or internal bubbles are acceptable.
This level of detail is especially important for display components, transparent covers, lighting parts, and visible enclosures.
Acrylic manufacturing projects often begin with a prototype but may later develop into repeat production. A manufacturing partner should be able to support the transition without losing control of material selection, finish quality, inspection requirements, or packaging protection.
U-Need provides custom precision machining, mold manufacturing, sheet metal fabrication, laser cutting, bending, stamping, and related manufacturing support. This can be useful for projects that combine acrylic components with metal brackets, molded housings, fasteners, or assembled hardware.
A clear acrylic part may look straightforward, but successful production depends on early decisions. The material grade, wall thickness, corner radii, fastener design, machining parameters, finish specification, and packaging method should all work together.
Share your 2D drawing, 3D CAD file, required quantity, material preference, finish requirement, and target delivery schedule with the U-Need team. A practical manufacturability review can help identify risks before production begins and support a smoother path from prototype to repeat manufacturing.
CNC acrylic machining offers a flexible and accurate solution for custom PMMA parts. It is especially valuable for transparent prototypes, low-volume components, premium display parts, machine guards, lighting covers, and custom enclosures.
The strongest results come from selecting the correct acrylic grade, designing with realistic radii and wall thicknesses, managing cutting heat, using stable workholding, and defining finish expectations before production. For demanding visible parts, quality control and protective packaging are as important as the machining process itself.
Yes. CNC machining can achieve precise acrylic dimensions when the part geometry, material grade, fixture design, cutting process, and inspection method are properly controlled. Standard tolerances are often more economical than extremely tight tolerances.
Cast acrylic is generally preferred for high-clarity, precision-machined, polished, and customer-facing parts. Extruded acrylic can be more cost-effective for basic flat panels and lower-complexity applications.
Acrylic melts when frictional heat becomes excessive. Common causes include dull tools, poor chip evacuation, low feed rates, excessive spindle speed, rubbing, and inadequate cooling.
Acrylic can be tapped for light-duty applications, but direct threads are not recommended for repeated assembly or high clamping force. Metal inserts, through-holes, and nuts are often stronger solutions.
Yes. Acrylic can be mechanically polished to improve edge transparency and surface appearance. The result depends on material grade, machining quality, part geometry, and polishing accessibility.
Acrylic can be suitable for clear machine covers and observation windows where visibility and rigidity are important. For applications with significant impact risk, polycarbonate may be a more appropriate material.
Injection molding should be considered when the design is stable, the expected production quantity is high, and the tooling investment can be justified by lower unit costs. CNC machining remains more flexible for prototypes, low-volume production, and changing designs.
1. RapidDirect. "[CNC Acrylic: A Simple Guide to Understanding PMMA Machining]." Material overview, PMMA properties, applications, and machining guidance. [rapiddirect]
2. Protolabs Network. "[A Guide to Acrylic CNC Machining]." Acrylic material selection, tolerances, design guidelines, finishing, and manufacturing comparisons. [hubs]
3. ACRYLITE. "[Machining ACRYLITE Acrylic Sheet]." Tool geometry, heat control, cutting guidance, thread design, and acrylic machining practices. [acrylite]
4. ACRYLITE. "[Annealing ACRYLITE Acrylic Sheet]." Acrylic annealing methods and controlled stress-relief guidance. [acrylite]
5. ACRYLITE. "[Drilling ACRYLITE Acrylic Sheet]." Drilling, hole clearance, edge distance, fastening, and material-support recommendations. [acrylite]
6. ASTM International. "[ASTM D788-24: Standard Classification System for and Basis of Specification for Poly(Methyl Methacrylate) Molding and Extrusion Materials]." PMMA material classification reference. [store.astm]
7. U-Need Precision Machinery Co., Ltd. "[Custom Parts, Your Needs, We Meet!]." Company-provided service scope, custom manufacturing capabilities, quality process descriptions, and production support information. [uneedprecisionmachine]


