Views: 232 Author: U-Need Publish Time: 2026-08-21 Origin: Site
Content Menu
● Why Process Planning Determines CNC Part Quality
● 1. Divide CNC Machining Operations Strategically
>> Group Operations by Tool Where Appropriate
>> Machine From Simple Features to Complex Features
>> Separate Roughing and Finishing for Deformation-Prone Parts
● 2. Use One Consistent Datum System
>> Align Design, Process, and Programming Datums
>> Reduce Re-Clamping Whenever Possible
● 3. Plan Toolpaths for Accuracy and Cycle-Time Control
>> A Shorter Toolpath Is Not Always a Better Toolpath
>> Match Toolpath Direction to Workholding Strength
● 4. Treat Cutting Sound and Vibration as Production Signals
>> Listen for Changes, Then Verify the Cause
>> A Practical Shop-Floor Response Checklist
● 5. Set Safe Heights and Verify Programs Before Cutting
>> Safe Z Height Is a Collision-Control Requirement
>> Verify Before Production Release
● How U-Need Supports End-to-End Manufacturing Projects
● Request a Manufacturing Review
● FAQ
>> 1. What information should I provide for a CNC machining quotation?
>> 2. Why is a consistent datum important in precision machining?
>> 3. When should roughing and finishing be separated?
>> 4. What should I do if a CNC machine starts making unusual cutting noise?
>> 5. How does safe Z height prevent CNC collisions?
>> 6. Can one supplier handle CNC machining, molds, and sheet metal fabrication?
U-Need is a precision manufacturing partner in China for global brands, distributors, and manufacturers that need dependable custom precision parts machining, mold manufacturing, and sheet metal fabrication. From a machining-process perspective, consistent quality is not created by a single high-end machine—it comes from disciplined process planning, stable fixturing, controlled toolpaths, and fast responses to cutting abnormalities.
For buyers sourcing custom CNC machined parts, the most important question is often not simply "Can you make this part?" It is: Can you manufacture it repeatedly, safely, and within tolerance as volumes scale? The five practices below explain how experienced machinists and manufacturing engineers turn drawings into a controlled production process.

A CNC program is only one part of the production system. Before cutting begins, the manufacturing team must translate a drawing into a reliable route covering material condition, datum strategy, workholding, operation sequence, tooling, machining parameters, inspection points, and final protection.
For complex precision parts, poor planning can cause:
- Repeated setups and accumulated positioning error
- Distortion after material removal
- Excessive tool wear and unstable surface finish
- Longer cycle times caused by unnecessary non-cutting moves
- Tool collisions with fixtures, clamps, or the workpiece
- Inconsistent dimensions between samples and production batches
At U-Need, machining planning should be treated as a practical risk-control process. The goal is not merely to remove material. The goal is to produce a part that meets the required dimensions, tolerances, surface requirements, and functional relationships every time it is made.
NIST's manufacturing-process research describes process planning as the activity that connects product requirements with machining and tooling requirements. In other words, manufacturing quality begins when engineering intent is converted into executable shop-floor decisions—not after the first part fails inspection.
One practical way to organize machining operations is to group compatible features by tool. If the same end mill, drill, reamer, or tap can machine multiple accessible features under the same setup, completing those features before changing the tool can reduce avoidable interruptions.
This approach can help reduce:
- Tool-change time
- Potential data-entry or offset mistakes
- Repeated repositioning
- Variations caused by multiple setups
However, tool-based grouping should never override the part's critical dimensional relationships. A component with a bore, mating face, and locating profile may require these features to be completed under one datum and one clamping condition, even if that requires additional tool changes.
A robust process usually progresses from simple, stable geometry to complex, high-precision features. Typical examples include:
| Recommended sequence | Why it matters |
|---|---|
| Establish base faces and reference datums | Creates a reliable foundation for later operations |
| Machine larger, lower-tolerance features | Removes bulk material before critical finishing |
| Produce functional holes, bores, and profiles | Controls relationships between key features |
| Finish tight-tolerance surfaces | Reduces the effect of later machining stress |
| Deburr and inspect | Confirms fit, safety, and cosmetic requirements |
For many components, the sequence should move from low precision to high precision. Finishing a critical bore before heavy roughing elsewhere can be risky because the remaining material removal may release stress or distort the workpiece.
Thin-wall housings, long aluminum components, stainless-steel structures, and parts with deep pockets can deform during machining. For these parts, roughing and finishing should be clearly separated.
A practical workflow is:
1. Rough-machine the part to remove most excess material.
2. Leave a controlled finishing allowance.
3. Release or stabilize residual stress when the material and geometry require it.
4. Re-clamp using the established datum plan.
5. Finish-machine critical dimensions and cosmetic surfaces.
6. Inspect key dimensions before sending the part to the next process.
Expert perspective: Roughing is about controlled material removal. Finishing is about geometry, tolerance, and surface integrity. Combining both into one aggressive operation can make a program faster on paper but less predictable in production.
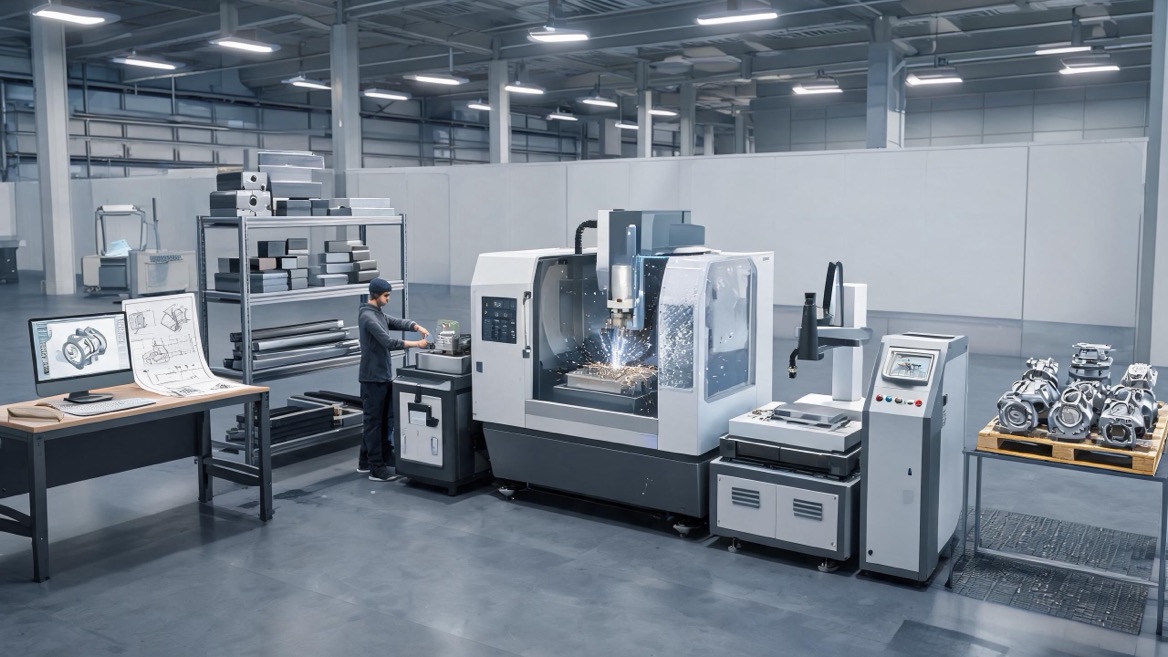
A datum is more than a coordinate reference. It is the physical and mathematical basis used to control a part's location, orientation, and feature relationships.
For precision CNC machining, the best practice is to keep the following references aligned wherever feasible:
- Design datum: The reference identified on the engineering drawing
- Process datum: The surfaces selected for locating and clamping the part
- Programming datum: The coordinate system used in CAM and machine setup
- Inspection datum: The reference used by quality personnel or CMM programs
When these systems do not align, every conversion introduces potential error. A machinist may set the part from one face, the CAM program may reference another, and inspection may measure from a third. The result can be a part that appears dimensionally correct in one context but fails functional assembly.
Each additional setup introduces risk: locating variation, clamping deformation, operator variation, and datum transfer error. Whenever machine access allows, complete as many related surfaces as possible in one clamping.
A single-setup strategy is especially valuable when controlling:
- Perpendicularity between faces
- Positional tolerances between holes
- Concentricity or coaxiality of bores
- Flatness-related dimensions
- Sealing surfaces and mating interfaces
That said, "one setup" does not mean forcing every feature into an inaccessible or unstable orientation. The right decision balances fewer setups against safe tool access, rigid clamping, chip evacuation, and inspectability.
Efficient toolpaths reduce air cutting and unnecessary machine movement, but the shortest geometric path is not automatically the safest or most accurate route. Toolpath planning must account for tool engagement, part rigidity, fixture clearance, material behavior, and the intended surface finish.
A good CNC toolpath should achieve four outcomes:
- Maintain required dimensional accuracy
- Avoid abrupt load changes that can damage tools or surfaces
- Reduce non-cutting travel and unnecessary retracts
- Keep programming and verification manageable
For pocketing, profiling, and cavity machining, smooth engagement is often more stable than sharp corner entries. Sudden directional changes can increase cutting loads, especially when machining tough materials or thin-wall features.
Sandvik Coromant advises avoiding vibration in milling corners by programming larger path radii and adjusting feed rate. It also notes that cutting with insufficient chip thickness can lead to rubbing rather than cutting, increasing vibration risk.
The fixture and workpiece do not have equal rigidity in every direction. A thin wall may be well supported from one side but flexible from another. Toolpath direction should therefore be selected with clamping forces and structural support in mind.
For weak fixtures or flexible workpieces, consider:
- Cutting toward the strongest supported area
- Reducing unsupported tool pressure
- Avoiding aggressive engagement near thin walls
- Using shorter tool overhang whenever possible
- Dividing heavy cuts into stable stages
- Scheduling final wall finishing after surrounding material is stabilized
This is especially relevant for aluminum enclosures, stainless-steel brackets, molded inserts, precision plates, and components with deep pockets.
A stable cutting operation usually produces a relatively consistent sound. When the tone becomes irregular, sharp, pulsing, or unusually loud, the machine may be signaling a developing issue.
Possible causes include:
- Tool wear or chipped cutting edges
- Excessive tool overhang
- Inadequate workholding rigidity
- Unstable cutting parameters
- Chip recutting or poor chip evacuation
- Material inconsistency
- Incorrect toolpath engagement
- Runout in the holder, collet, or spindle interface
Do not assume that changing feed or speed alone will solve the problem. First identify the likely source. If a parameter adjustment does not stabilize the cut, pause the machine and inspect the tool, holder, fixture, chips, and workpiece condition.
Sandvik Coromant identifies vibration, excessive noise, poor surface finish, heat generation, and burr formation as symptoms associated with excessive flank wear. Its troubleshooting guidance also recommends checking workholding, tool overhang, runout, cutting force, and fixture support when vibration occurs.
When abnormal sound or vibration appears during machining:
1. Reduce risk immediately. Lower feed or stop the operation if there is a risk of collision, tool breakage, or part damage.
2. Inspect the cutting edge. Look for flank wear, edge chipping, built-up edge, or coating damage.
3. Check clamping. Confirm that the workpiece, jaws, fixture, and fasteners remain secure.
4. Check overhang and runout. Excessive extension or poor concentricity can destabilize cutting.
5. Review chip evacuation. Recut chips can damage surfaces and create unstable loads.
6. Adjust one variable at a time. Modify speed, feed, radial engagement, axial depth, or tool selection in a controlled way.
7. Document the correction. Record the cause and approved parameter change for repeat orders.
This discipline is particularly important for export programs, where the same part may need to be reproduced months later with the same functional performance.
A safe height is the vertical clearance used when a tool rapidly moves between machining areas. It must be high enough to clear the workpiece, clamps, fixture components, parallels, vises, and any other obstruction in the machine envelope.
Autodesk defines machine Safe Z as the height used for rapid movements between toolpath segments and states that it must be sufficient to clear the clamps holding the material.
A safe-height strategy should be established before production, not improvised while the machine is running. The programming zero point should also be selected so that setup verification is clear and repeatable.
Before running a new CNC program on production material, use a documented verification sequence:
1. Confirm the correct machine, work offset, tools, holders, and fixture.
2. Review the post-processed program for the specific machine control.
3. Check tool numbers, length offsets, diameter offsets, and spindle direction.
4. Simulate the toolpath in CAM when available.
5. Perform a dry run or single-block check at a safe clearance.
6. Use reduced rapid and feed overrides for the first controlled cycle.
7. Inspect the first article against the drawing before releasing the batch.
This process may add minutes at the start of a job, but it can prevent costly crashes, damaged fixtures, scrapped material, and delayed delivery.
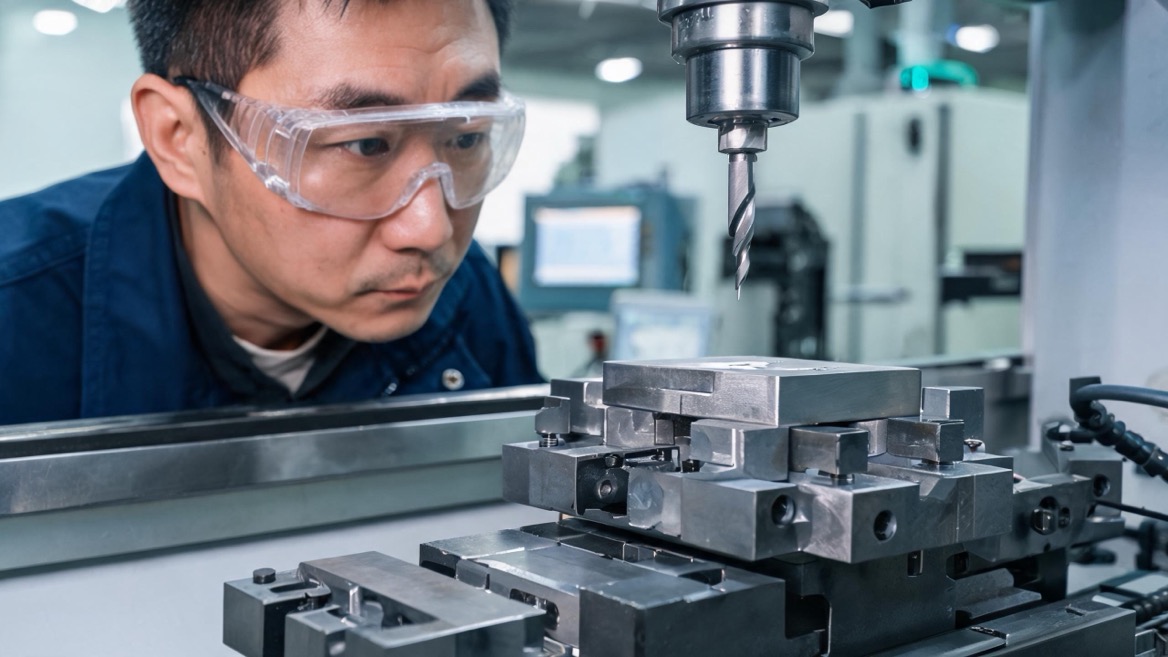
U-Need supports customers that need more than an individual machining operation. The manufacturing scope can include:
- Custom precision parts machining for prototypes, low-volume production, and repeat orders
- Mold manufacturing, including injection molds, stamping dies, and cold-forging dies
- Sheet metal fabrication, including laser cutting, bending, stamping, and related finishing processes
- Engineering-oriented process planning for manufacturability, tolerances, materials, and assembly needs
- Quality-focused production coordination from drawing review to shipment preparation
For global buyers, the practical value of an end-to-end manufacturing partner is continuity. A machining team that understands the mold, formed component, mating part, or final assembly can make better decisions about datum selection, tolerance allocation, surface requirements, and inspection priorities.
If you are sourcing precision CNC machined components, molds, or custom sheet metal parts in China, send U-Need your drawings, 3D files, material specifications, annual quantity, tolerance requirements, and surface-finish expectations.
A useful manufacturing review should identify the key risks before production begins: difficult-to-hold dimensions, deformation-prone walls, unsuitable tolerances, complex setups, special inspection needs, and opportunities to reduce cost without compromising function. Contact U-Need to turn your part design into a repeatable manufacturing process.
Provide a 2D drawing, 3D CAD file, material grade, quantity, tolerances, thread specifications, surface finish, heat-treatment requirements, coating requirements, and any critical functional dimensions. If the part mates with another component, identify those interfaces clearly.
A consistent datum reduces conversion error between design, programming, clamping, and inspection. It helps control relationships such as hole position, face perpendicularity, bore alignment, and profile accuracy.
Separate roughing and finishing when a part is thin-walled, has deep cavities, uses distortion-prone material, requires tight tolerances, or includes high-value cosmetic surfaces. Roughing removes bulk material; finishing should be performed after the part becomes as stable as possible.
Reduce risk immediately, then inspect the cutting tool, holder, clamping, chip evacuation, and workpiece support. Abnormal noise can indicate tool wear, vibration, excessive engagement, or poor rigidity. Do not continue production until the cause is understood.
Safe Z height provides vertical clearance when the tool moves rapidly between operations. It must clear the highest point of the workpiece and all fixture components, including clamps and jaws, to prevent the tool or holder from striking them.
Yes. An integrated manufacturing partner can coordinate precision machining, mold manufacturing, and sheet metal processes. This can reduce communication gaps and improve consistency when components must fit together in a final assembly.
1. National Institute of Standards and Technology. *A Machining Process Planning Activity Model for Systems Integration.* [Read the publication].
2. National Institute of Standards and Technology. *Tying Together Design, Process Planning and Machining with STEP.* [Read the publication].
3. Sandvik Coromant. *Vibration in Milling.* [Read the technical guidance].
4. Sandvik Coromant. *Milling Troubleshooting.* [Read the troubleshooting guide].
5. Sandvik Coromant. *Wear on Cutting Edges.* [Read the technical guidance].
6. Autodesk. *Machine Safe Z Settings.* [Read the documentation].


